Vintage Mustang Forums banner
161 - 177 of 177 Posts
Nice job there Silverfox. I see you are re-installing the A/C system. Cool. However, I may have missed it but did you remember to replicate the vacuum can holes in the right rear fender apron? I see you replaced that apron, but the pics don't show the holes for the vacuum can. I know, I made that same mistake (LOL). Bruce
 
Discussion starter · #162 ·
Discussion starter · #163 ·
Nice job there Silverfox. I see you are re-installing the A/C system. Cool. However, I may have missed it but did you remember to replicate the vacuum can holes in the right rear fender apron? I see you replaced that apron, but the pics don't show the holes for the vacuum can. I know, I made that same mistake (LOL). Bruce
Bruce,
Thanks for the reply.
Yes I had remembered, just not got round to it. Now done and reused the old can.
Will post a pix on next update.

Cheere, Chris
 
Discussion starter · #164 ·
Rockers now all on with decals on the trunk lid.

Good sunshine today (which is unusual in early Jan in England ) so out in the sun for some pics.

Seat covers arrived via NPD (TMI and look like good quality) -quick import, 10 days from quote to my door, great service from JT @ NPD

Chris


Discussion starter · #166 ·
Discussion starter · #167 ·
More progress; external and internal


Door jamb; finish Âľ seal, door retainer and pressure vent in (both original to car) managed to clean/refurb


http://s1154.photobucket.com/user/silverfox1001/media/Mach1%20resto/final%20fitout/door%20jamb_zpsl6rhyad2.jpg.html][/URL]


Aerial:eek:riginal to car and managed to clean/refurb (not perfect but looks fine):


http://s1154.photobucket.com/user/silverfox1001/media/Mach1%20resto/final%20fitout/aerial_zpsyvcouq5y.jpg.html][/URL]


door mirrors have been sanded down, but waiting for a warmer day to pain them in top coat:


http://s1154.photobucket.com/user/silverfox1001/media/Mach1%20resto/final%20fitout/mirrorsprimer_zpszr7ggbik.jpg.html][/URL]


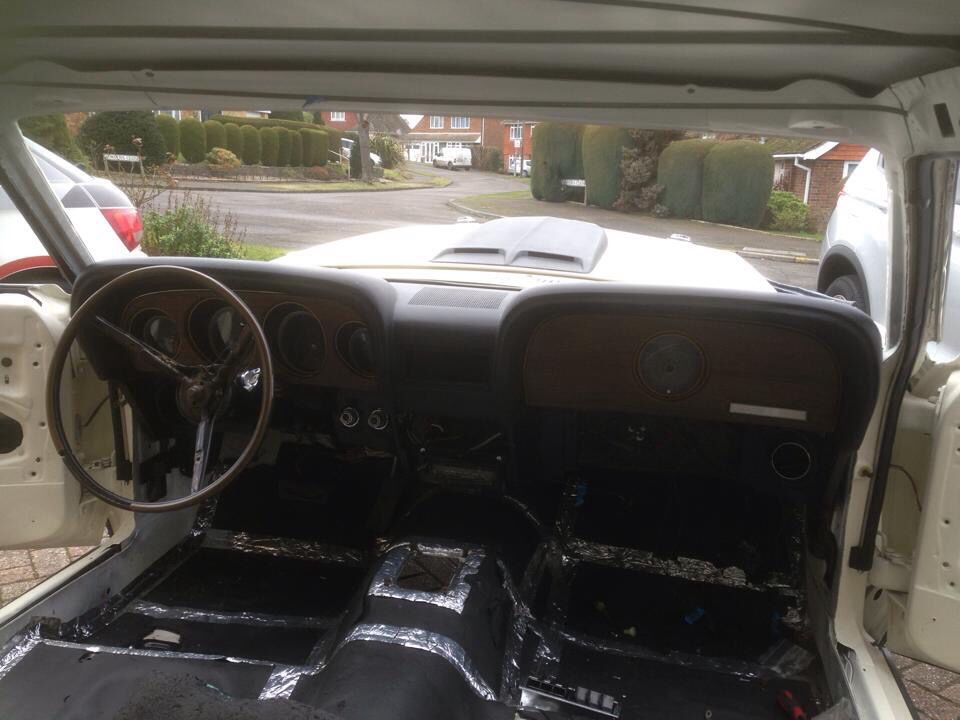
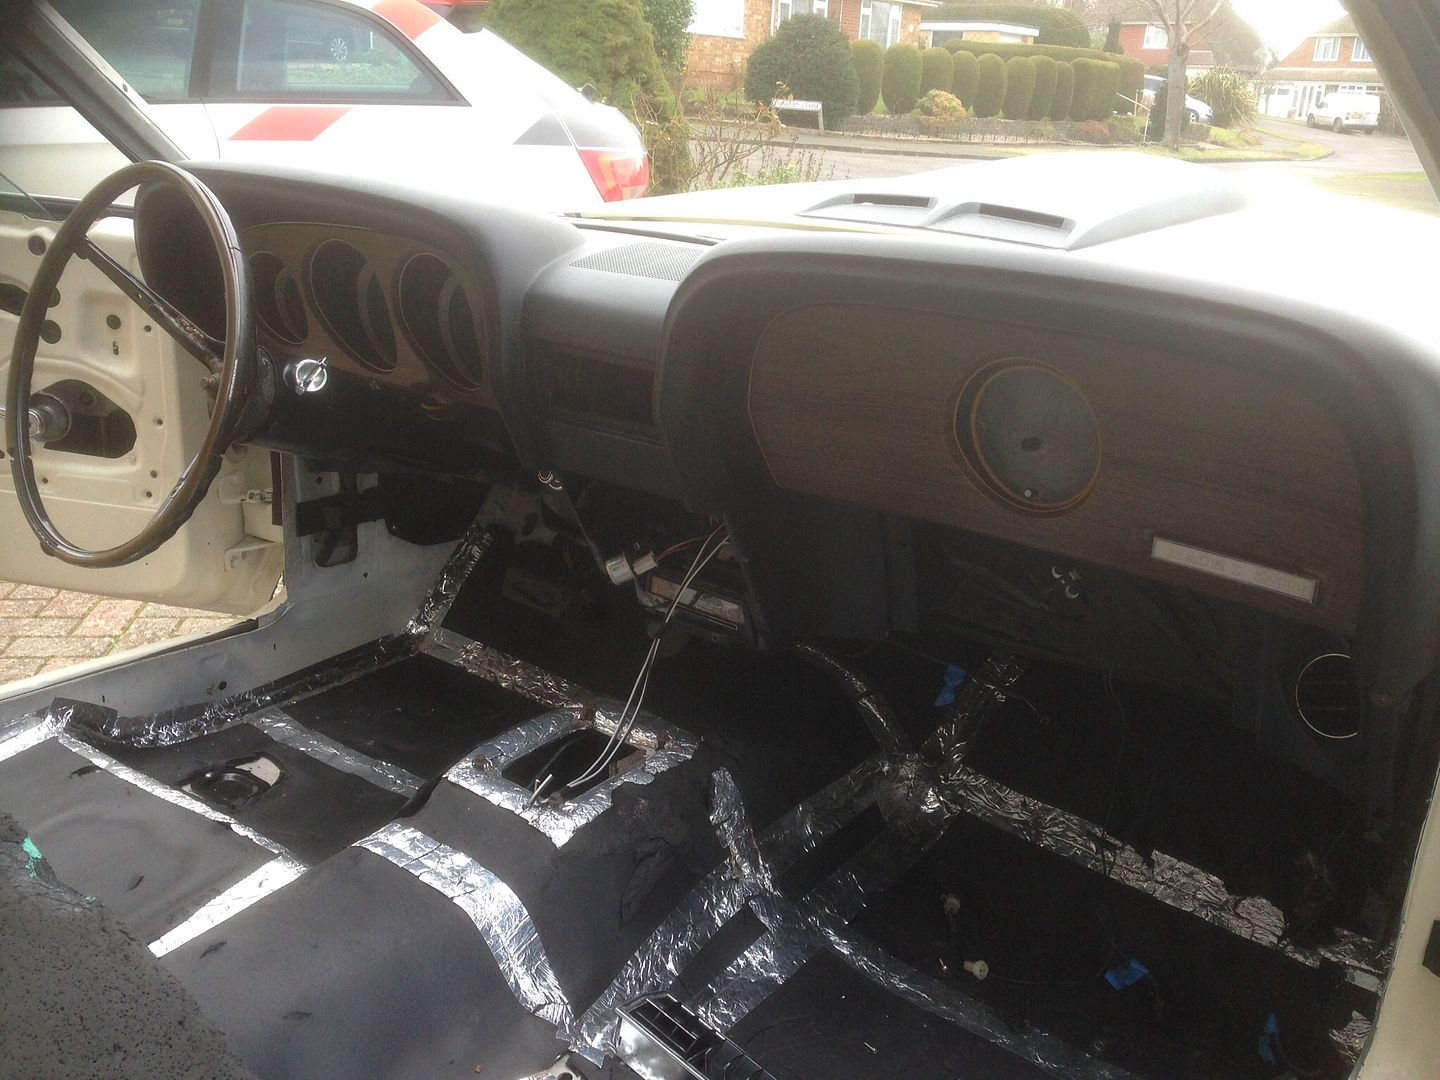
Back on the inside. All internal vent hoses and main loom in, so put in dash section in together with clock section


http://s1154.photobucket.com/user/silverfox1001/media/Mach1%20resto/final%20fitout/main%20dash_zpsaquz6jwa.jpg.html][/URL]


http://s1154.photobucket.com/user/silverfox1001/media/Mach1%20resto/final%20fitout/dashclock_zpslxryox7o.jpg.html][/URL]


Next interior step is to trial fit the dash top and then wait for warmer days; headliner and screen fit is next.


In the meanwhile bought some vac and heater hoses, so next few jobs are to fit these, accel cable to pedal etc, etc ....
 
Discussion starter · #169 ·
Screen Fit? Is that the windshield? looking good btw!
thanks and yes, windshield, keep forgetting UK and US words are sometime different :wink:
Chris
 
Discussion starter · #170 ·
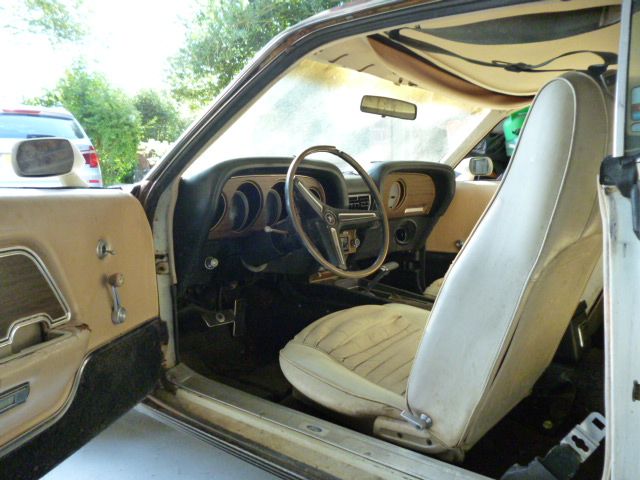
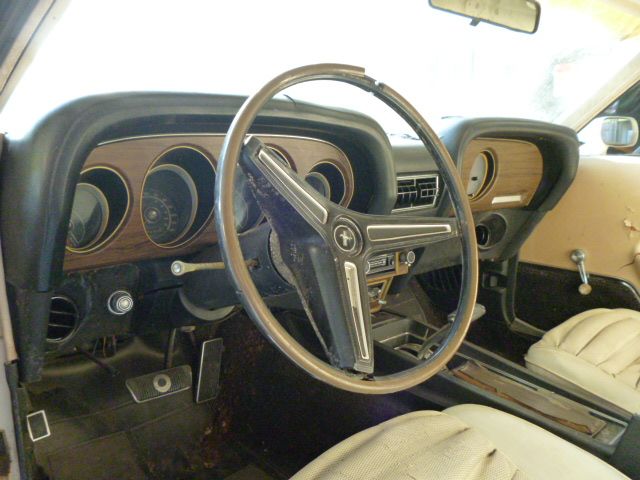
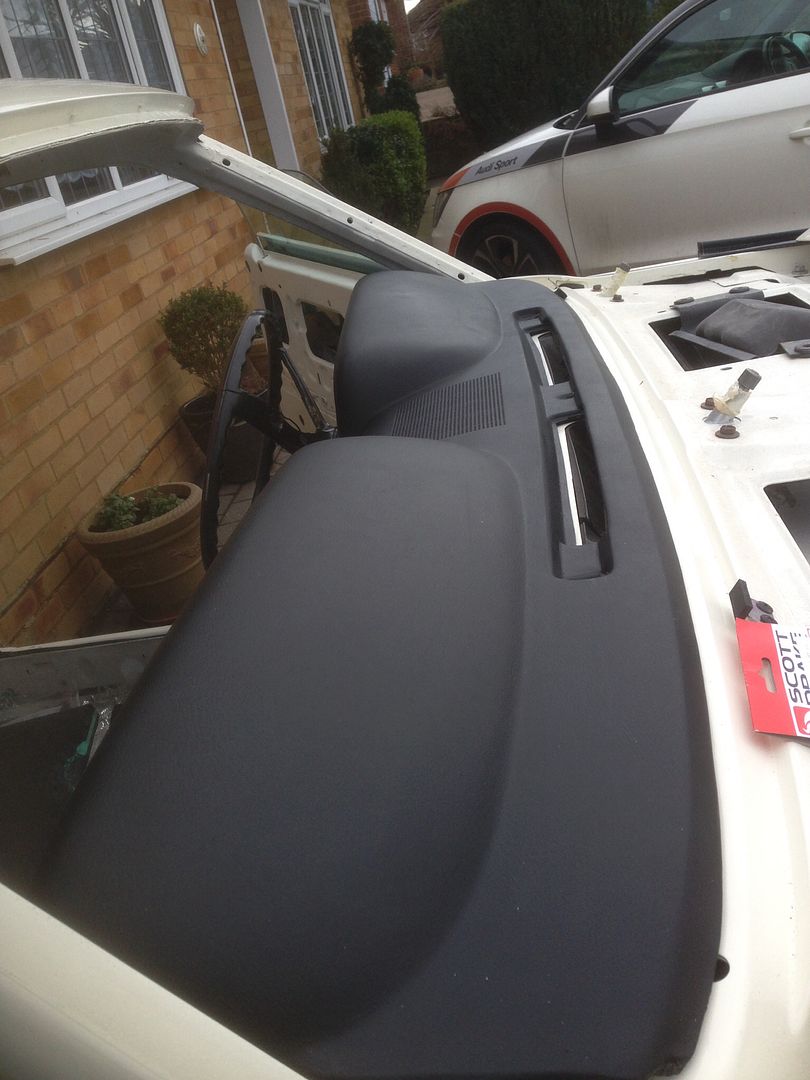
So the dash pad is now in, finally I get to see what the interior might look like after weeks of work!

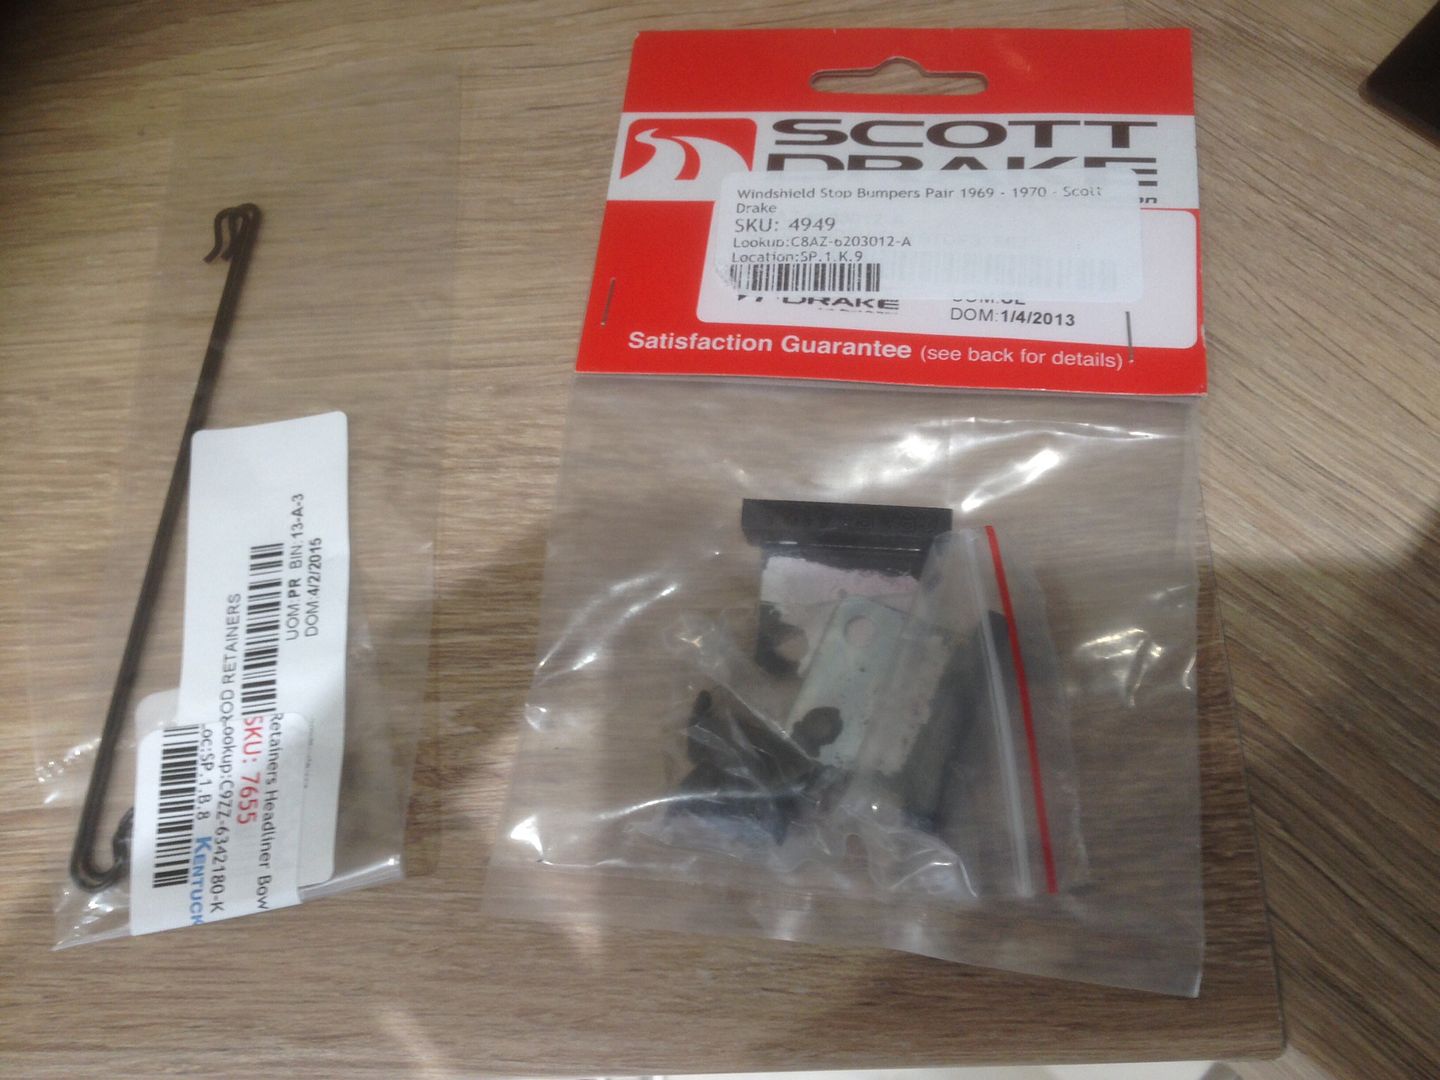
Ordered the front windscreen spacers and rear restraining supplementary bows direct via Ebay global shipping method - to my door in 5 days, decent price and great service, thanks Kentucky Mustang

Seats going away to be recovered in next 2-3 weeks.

Next step is do the head lining and front screen myself - not taking any notice of what folks in the UK say. If I can restore this, I'm sure I can do a headlining and windscreen installation.


  • Like
Reactions: Grabber70Mach
Just spent a few hours reading your thread.
Very inspiring - so close to completion.

My recent purchase (70 Mach 1 M Code) was originally white but now red.

Makes me want to return it to original! The option is there as the paint and body is not that good butbetter than your start out though :grin2:

Well done and look forward to the finished product.
 
Discussion starter · #173 ·
Just spent a few hours reading your thread.
Very inspiring - so close to completion.

My recent purchase (70 Mach 1 M Code) was originally white but now red.

Makes me want to return it to original! The option is there as the paint and body is not that good butbetter than your start out though :grin2:

Well done and look forward to the finished product.
Well done sir. Keep it going.

Guys, thanks for the comments it is appreciated.

Not too much progress as so cold over here in England (OC or 32F for about 10 days now) and I have to push the car out into the open to work on it :frown2:
Hopefully some pics to follow in the next 2 weeks before I'm off to sunny Spain!
Chris
 
Discussion starter · #174 ·
So some more bits and bobs done.

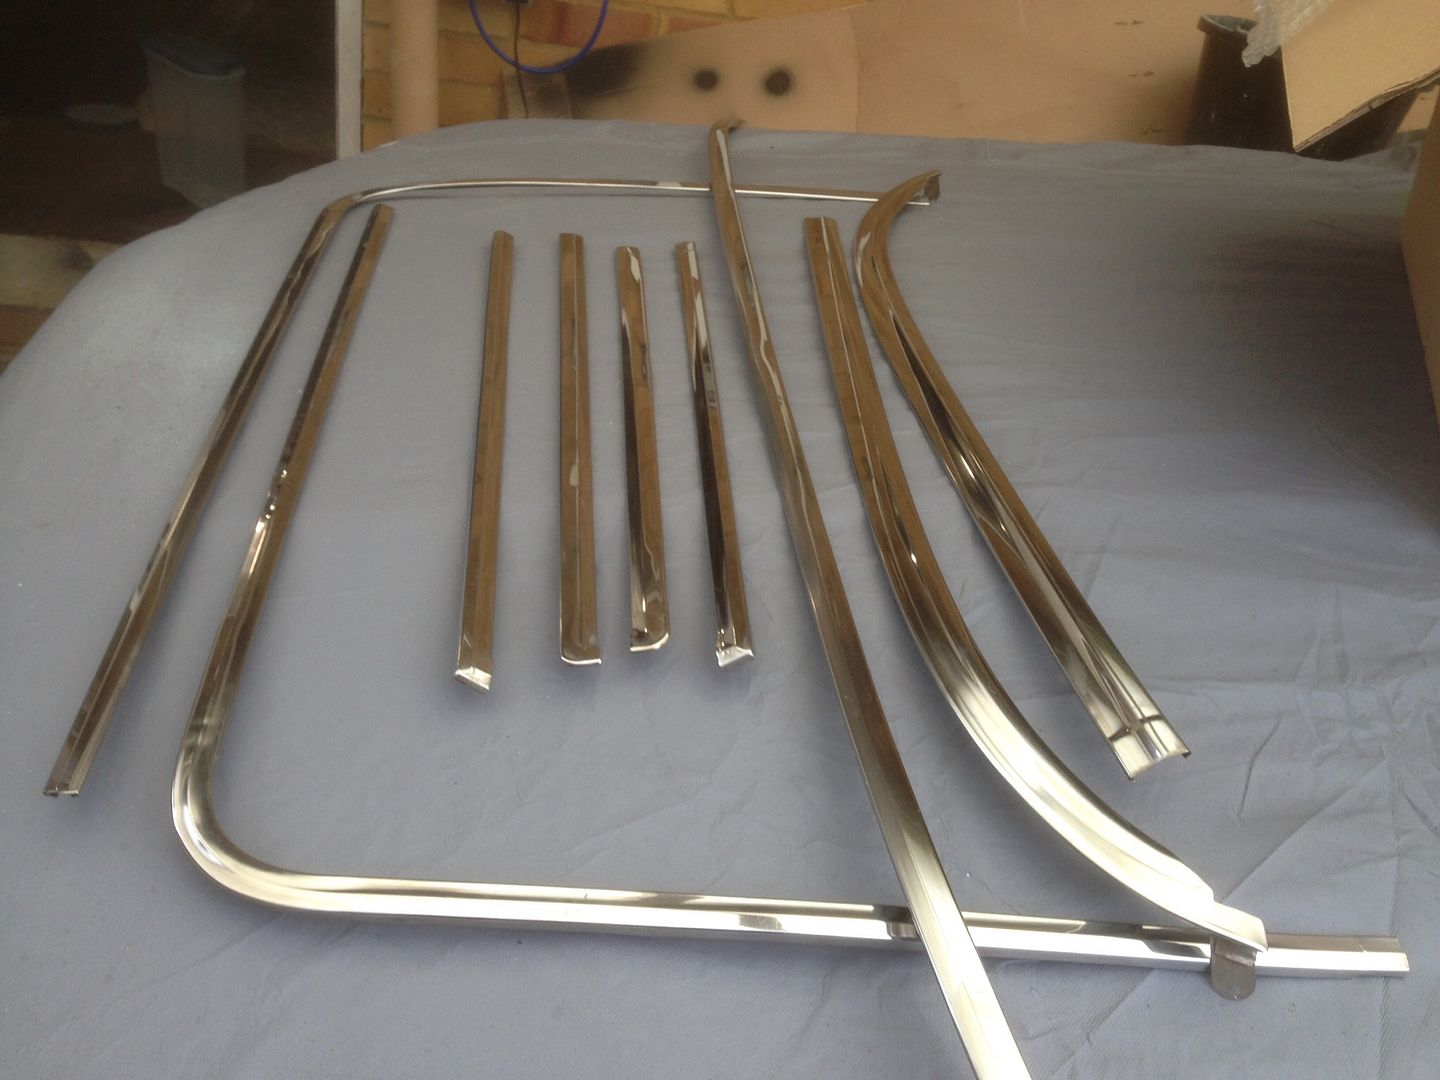
All the OEM trim is cleaned up and looks really good, relieved as the repop stuff is useless
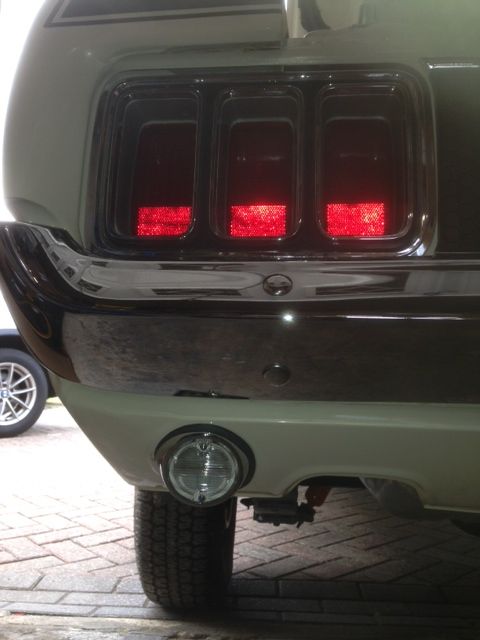
New rear back up lights
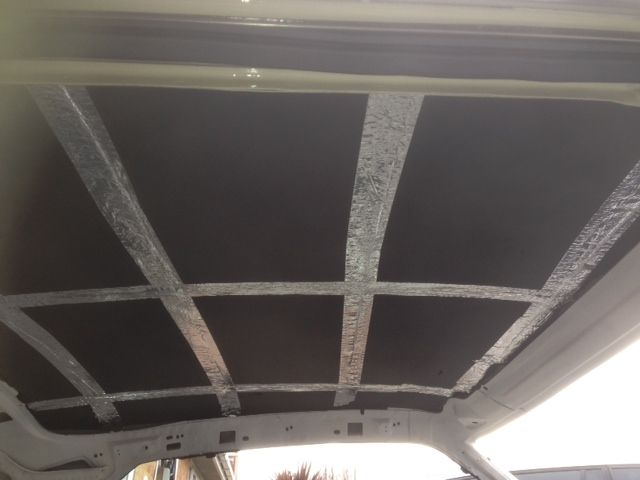
Headlining sound insulation in pre-headlining
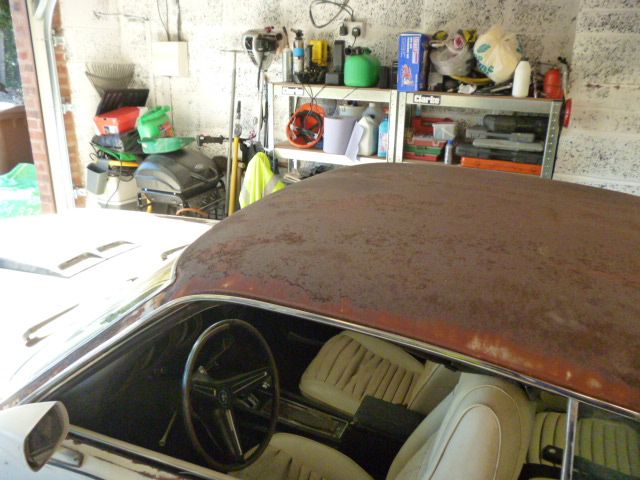
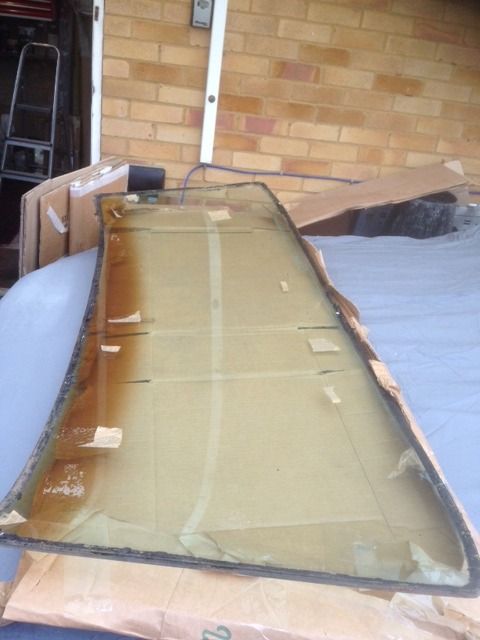
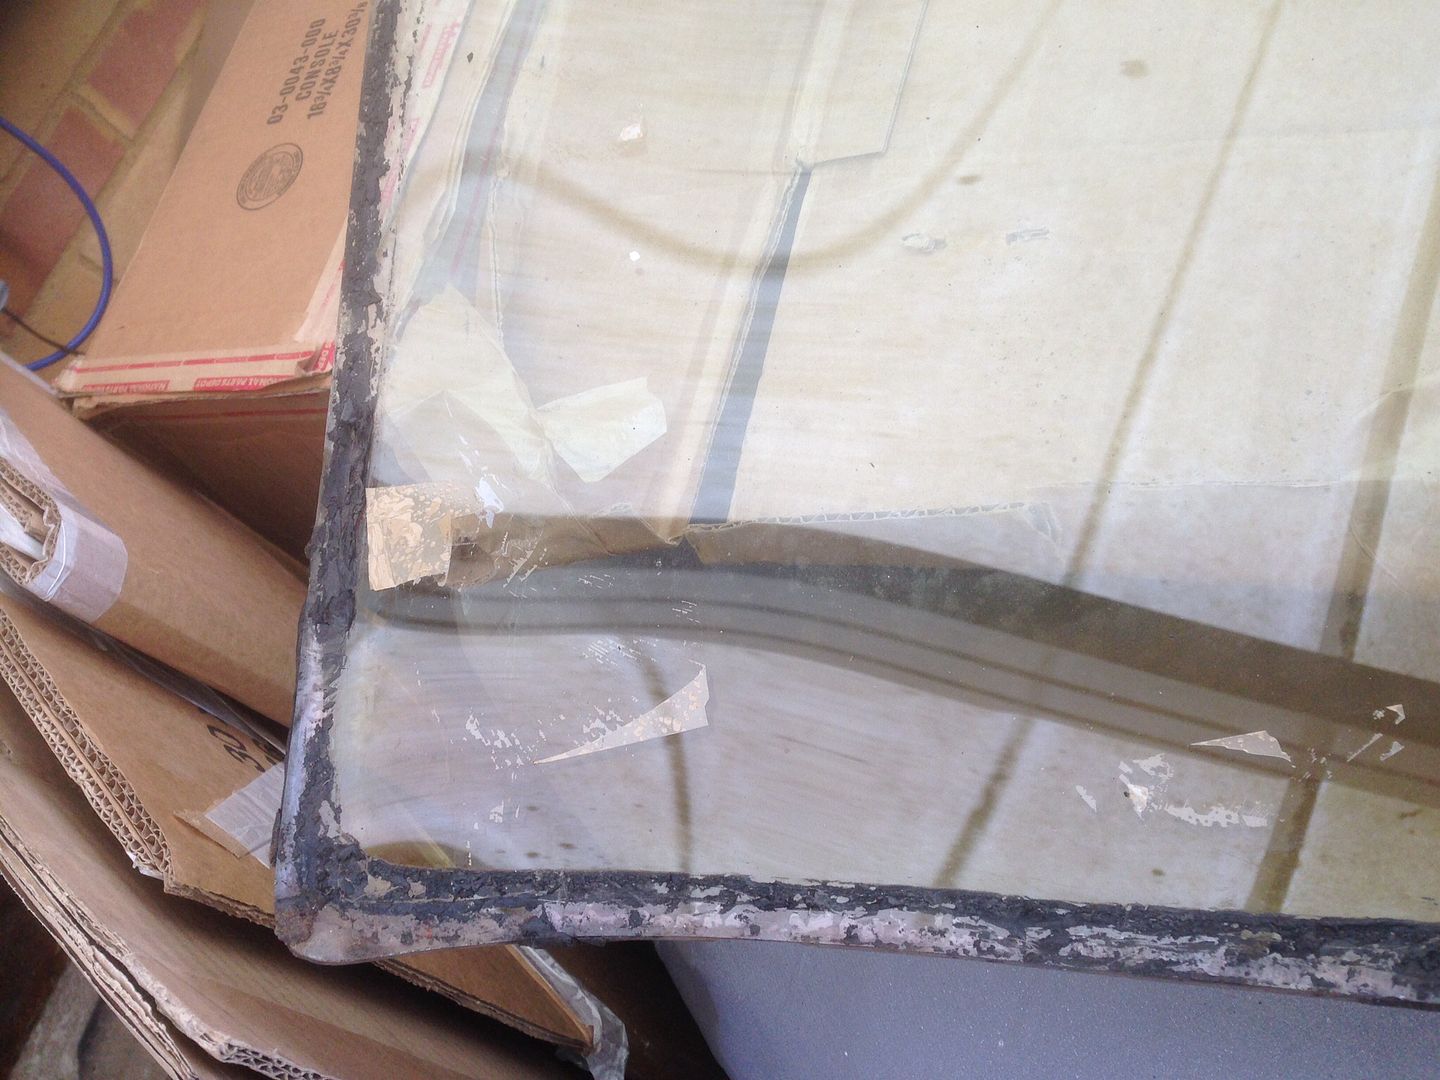
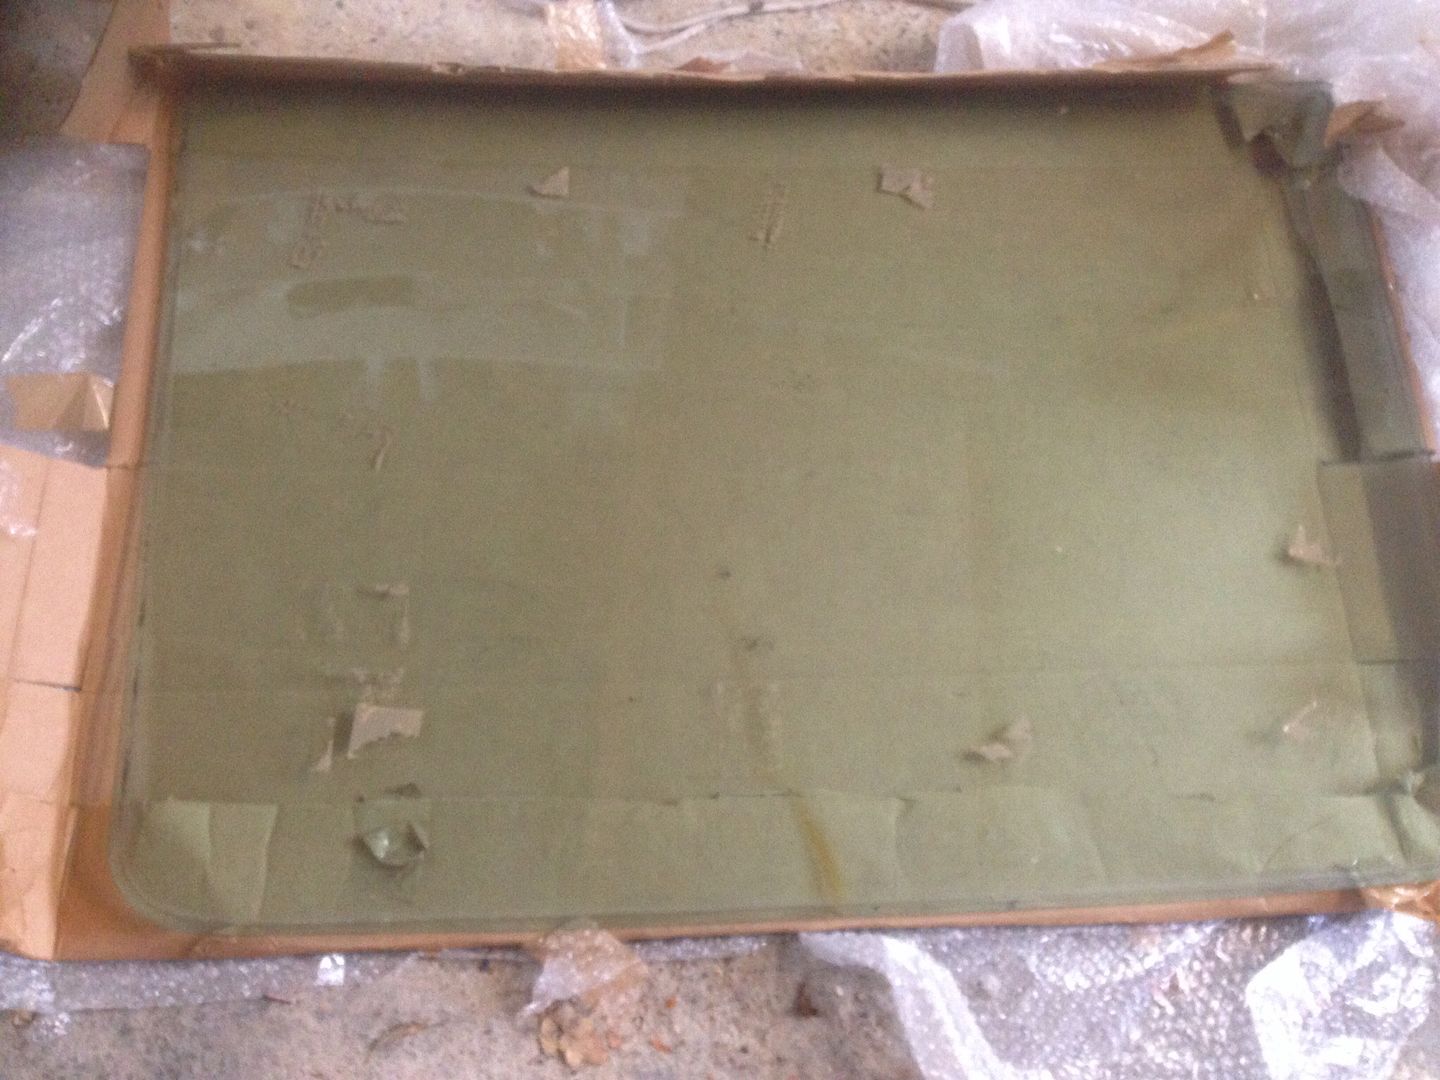
Found the front and rear screens out and starting to clean them up, not sure about front screen, top tint looks a bit iffy, might go for new screen, shame as front and rear are both original tinted Carlite screens
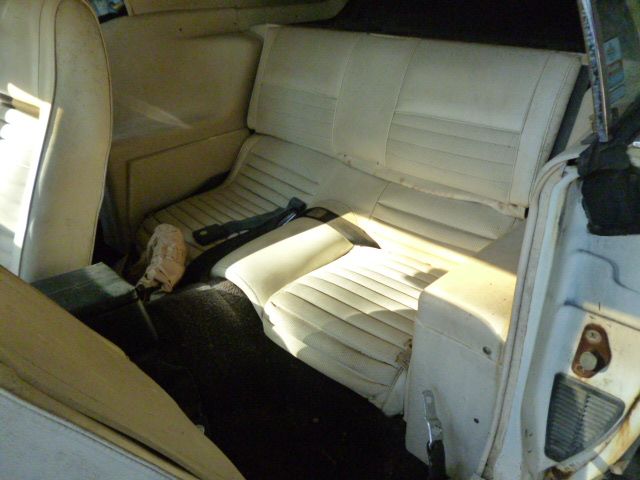
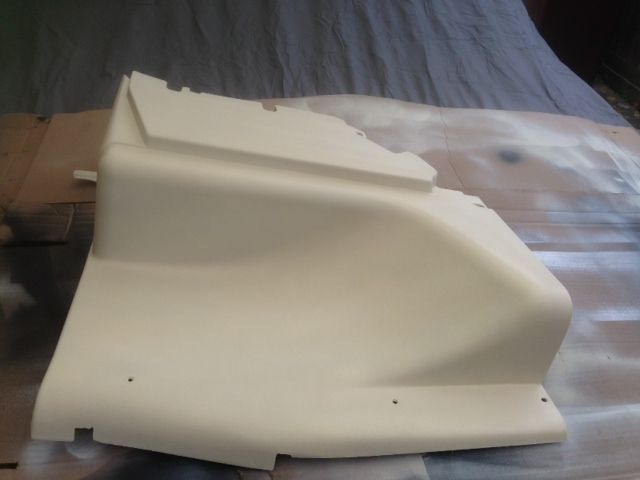
Rear interior 1/4 panels - all painted proper interior colour -used the "proper" US supplied vinyl prep stuff, bloody useless, cracked when top coat on it. Had to rub back down, use the UK supplied plastic primer and then final colour

Seats gone away now for retrim.

Chris


  • Like
Reactions: Grabber70Mach
Discussion starter · #175 ·
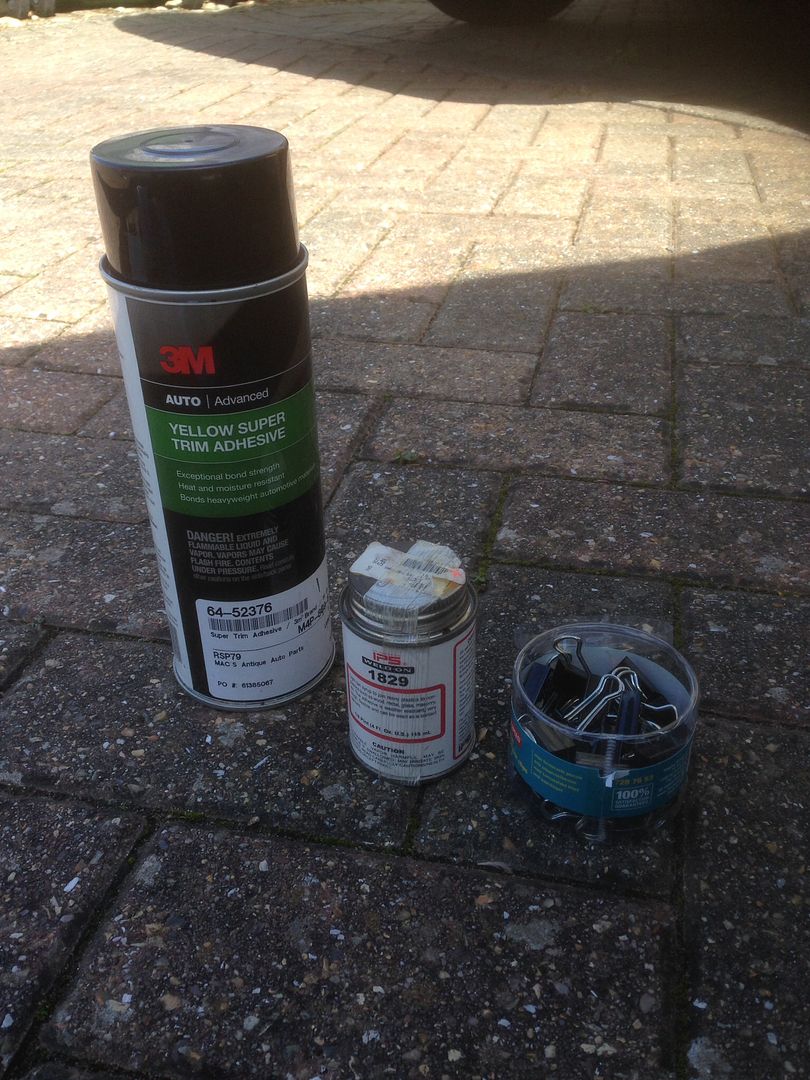
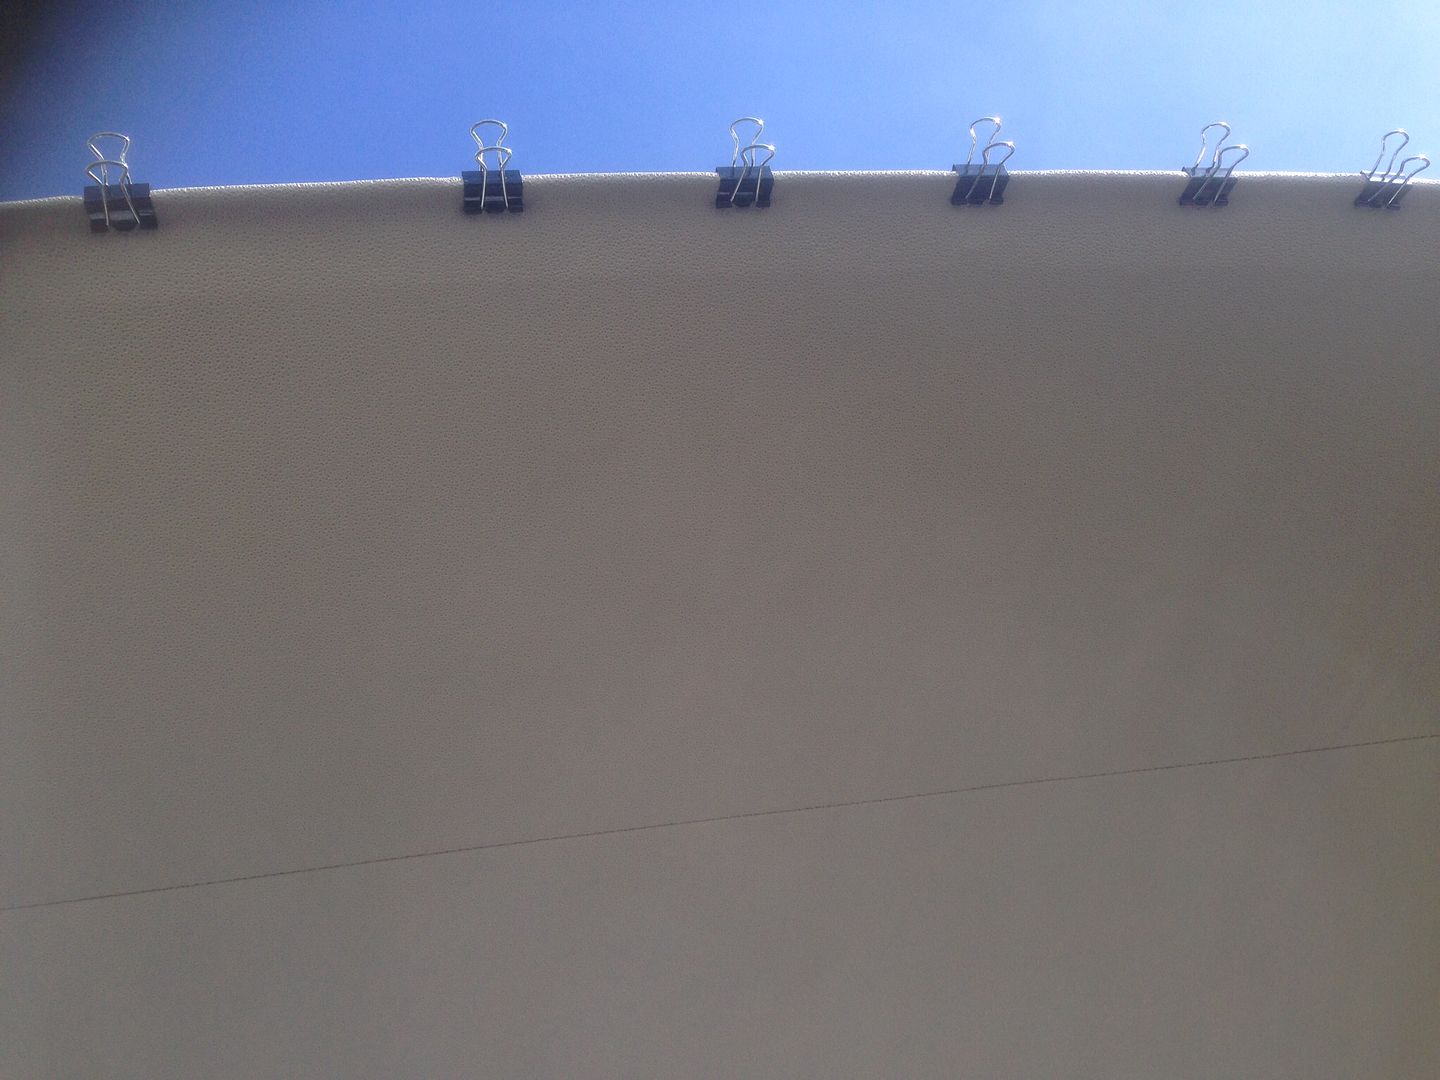
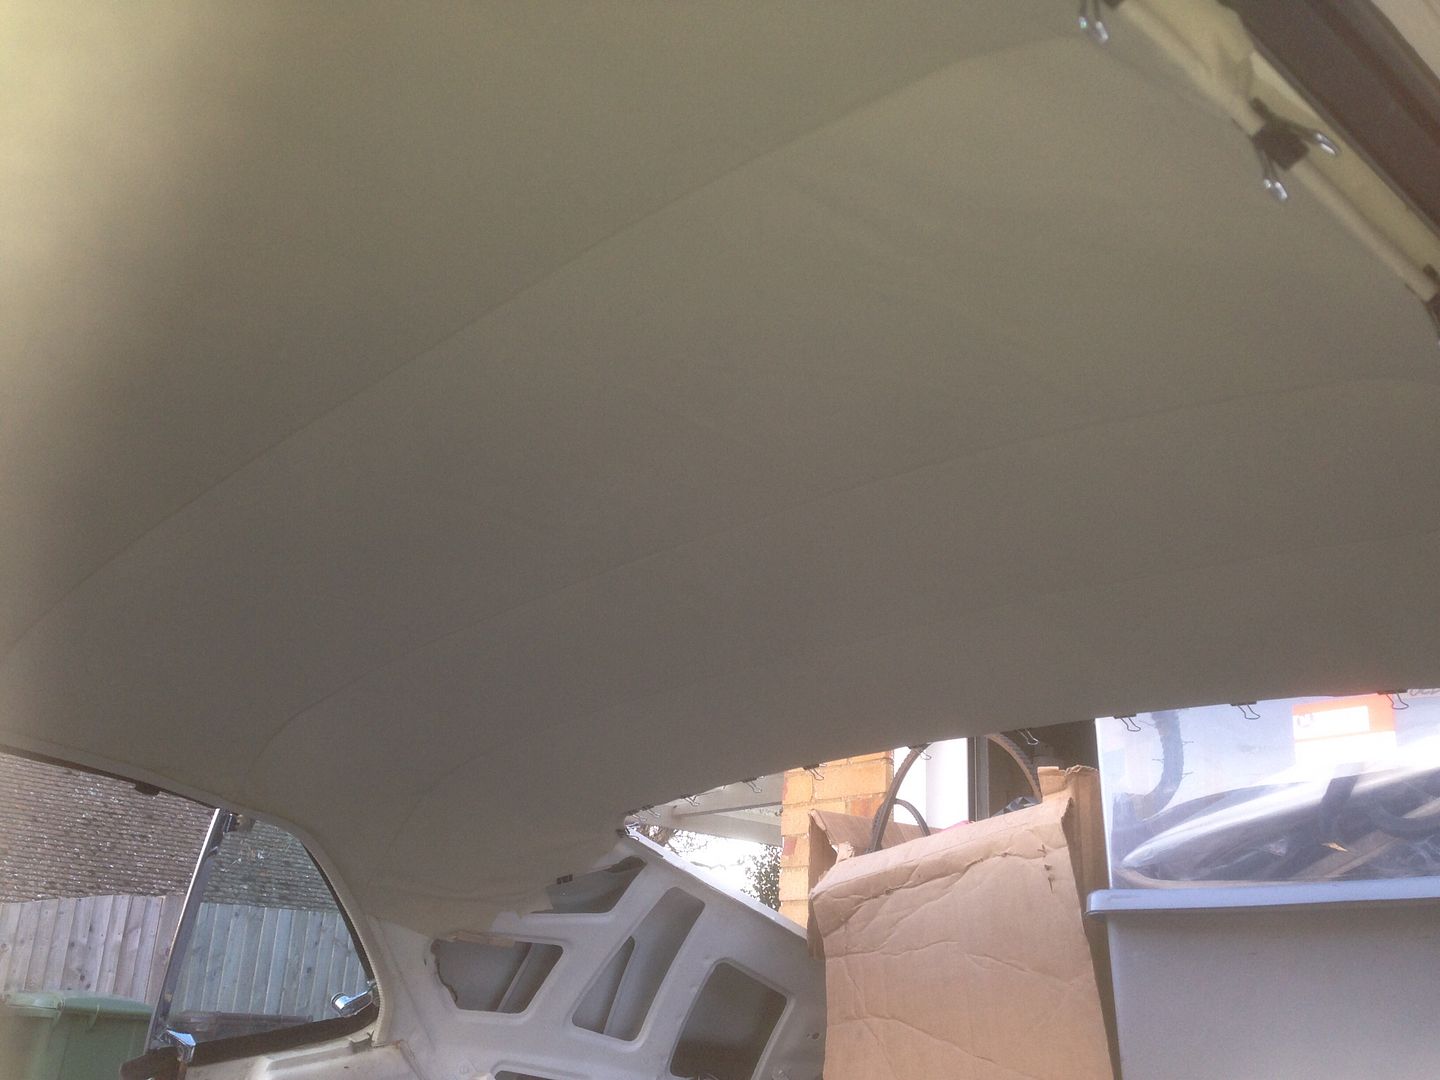
So got the headliner in today. A tip don’t use the 3M spray glue, it gets everywhere..........


Lots of other small jobs have been done over last few weeks: door handles, chrome, outer wheel arches (well 3 out of 4 as the dodo's at Ecklers sent me 2 no RHS rear instead of front and rear)


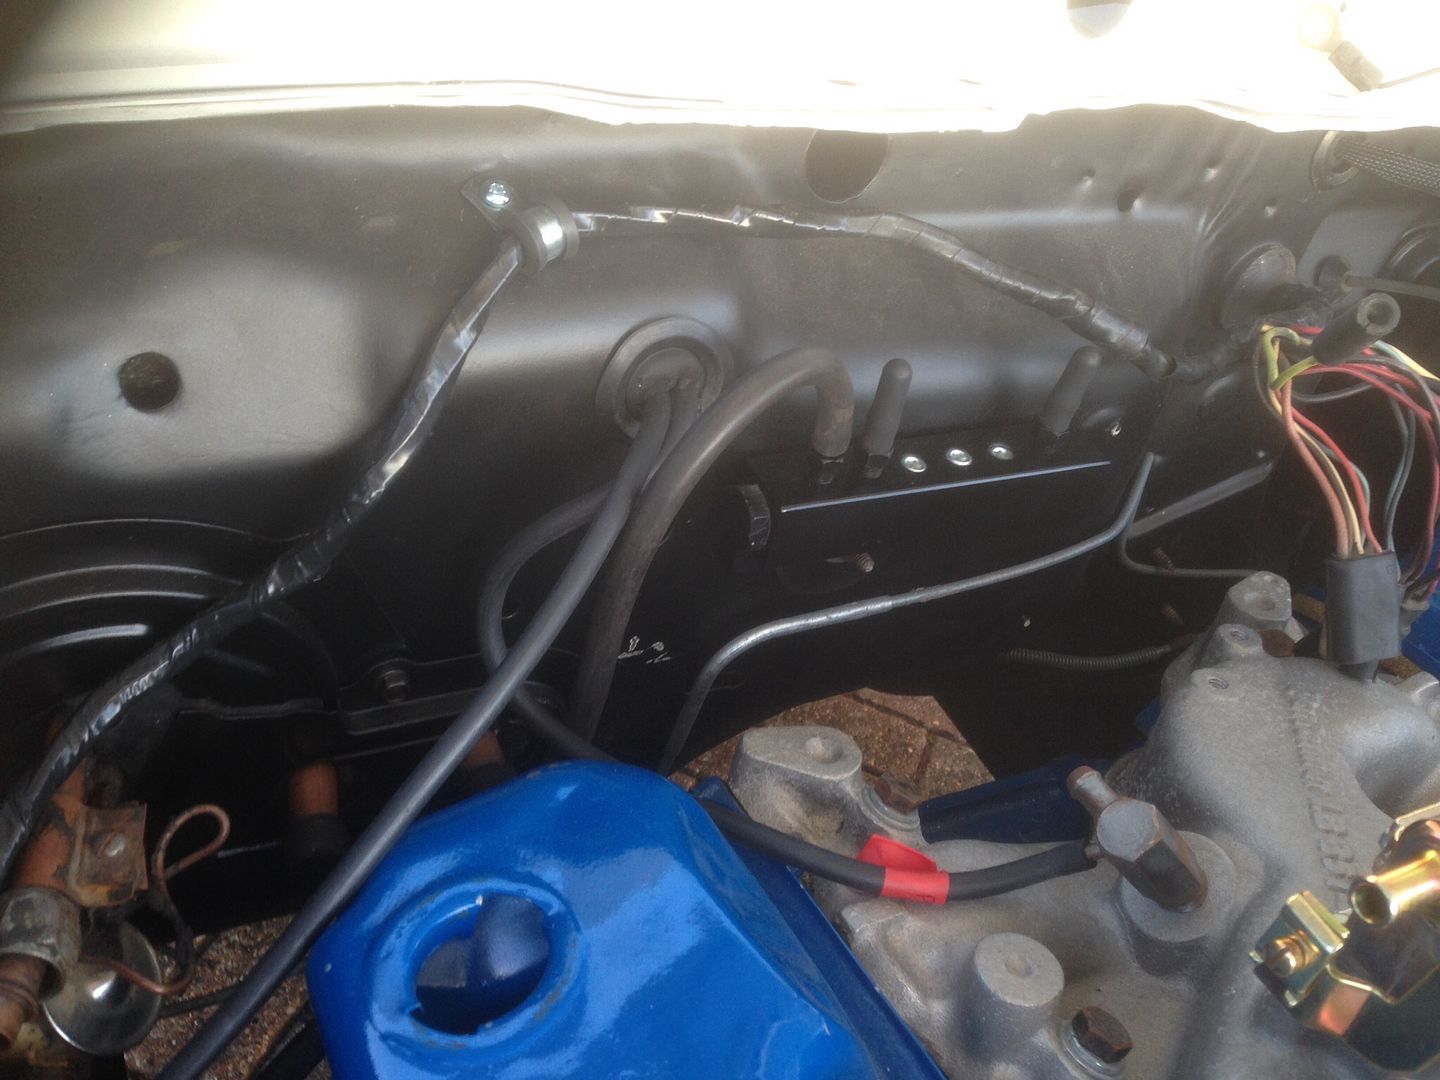
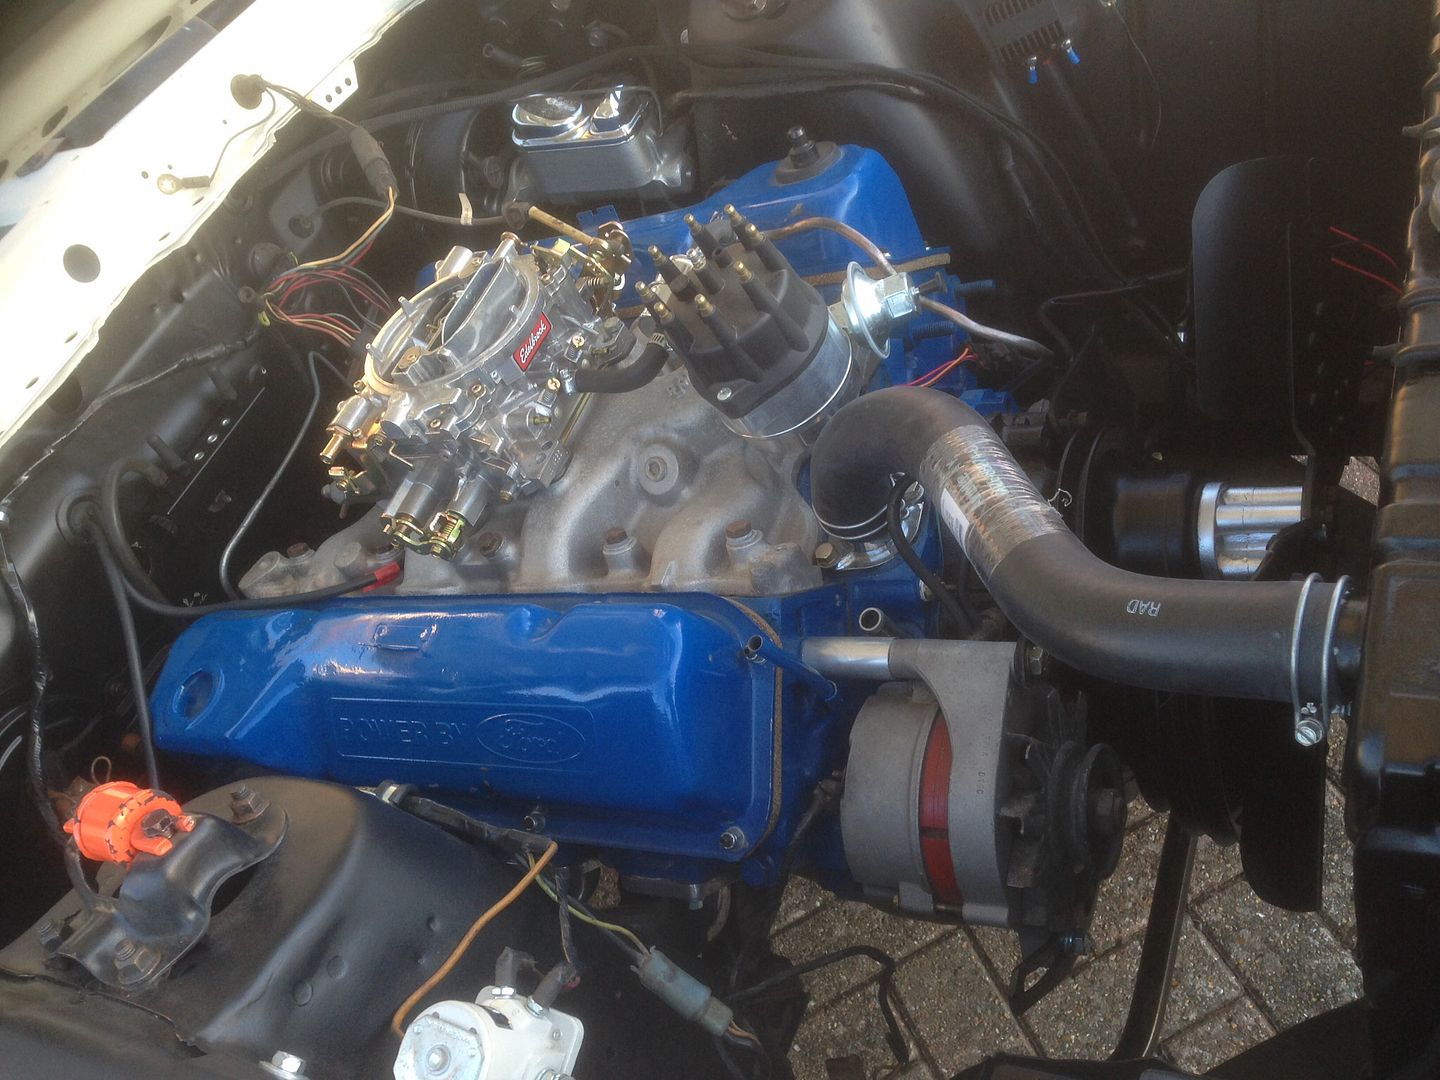
Engine getting closer to being fired up; new carb. Alternator, coil, modified vacuum tree etc.
Looks like I will need to fab up a carb to throttle bracket, the standard ford cable wont fit my new Edelbrock


http://s1154.photobucket.com/user/silverfox1001/media/Mach1%20resto/02956453d1a0d03d019f13ca92ae3c24_zpsudpfu2pj.jpg.html][/URL]

http://s1154.photobucket.com/user/silverfox1001/media/Mach1%20resto/5e14e643e467b42f3b830d876ecb233c_zpse013izz5.jpg.html][/URL]
http://s1154.photobucket.com/user/silverfox1001/media/Mach1%20resto/4996c9c82b9a56a60f561fb23571c294_zpsuijfvsjo.jpg.html][/URL]
 
Discussion starter · #177 ·
Looking good!

FYI, Edelbrock makes a ball and socket adapter for the carburetor which will allow your factory throttle cable to snap right on. You will likely have to grind on the throttle cable bracket to make it fit at the back of the carburetor.

https://www.summitracing.com/parts/...GBRD8yfi9h42H9YUBEiQAmki5Oo3_D-dxqyHtBjZ2kVqTpSX5XmaTNv6UYxxslfx9xswaAlrS8P8HAQ
Klutch, thanks for the comment and that link is really helpful, going to buy one this week.
I must catchup with your progress, not been on here much recently, what with work and mustangs.....
Cheers
Chris
 
161 - 177 of 177 Posts