Vintage Mustang Forums banner

Floor Pan replacement

7.8K views 39 replies 13 participants last post by  wareagle  
#1 ·
On my 66 its time to start cutting out the floors and do some sheet metal work! It is better to drill out spot welds on the floor take out old floor, frop in new floor and fill in the spot welds? then i obviously need to seam seal but is that the best way? or do i make a bead of the weld around the edge of the pans?
 
#2 ·
Drill out the spot welds to remove the old pan. Fit the new pan (one piece pan highly recomended) and drill out holes in the pan to plug weld to the frame rails, crossmember, etc. If its a coupe or fastback the sides of the pan sit against the inside of the rocker. If it's a convertible you need to drill holes along the sides of the pan and plugweld to the underside of the inner rocker.
 
#4 · (Edited)
Just pre-punch holes in your new floor pan and rosette weld the new one in place. Use a weld through primer or paint on the edges before you weld to reduce future rust. No need to make a bead weld when it's so easy to replicate the factory look.

Then use epoxy primer over all of the joint areas, let that dry and then sea, seal, now you are ready to prime the entire pan inside and out.


I prefer the SPI red oxide myself, you won't need any additional goo or coatings on the inside or out. In fact the bottom if my car has held up better and stayed cleaner than the painted body.


Image


Image
 
#5 ·
What they said!!! Plus, I went an extra step and brushed in rust encapsulator inside my frame rails. Figured what the hell, right?

Just a tip, but you could use self-taping sheet metal screws to hold your floor in before you start welding. This will help you with alignment.
 
#6 ·
#7 ·
Fstbk did you put the torque boxes in first or after the floor pan install? the pictures are great. I am rounding up the pieces to do my fastback full floor. The while I am in there approach I was going to ad the torque boxes. Thanks
 
#8 ·
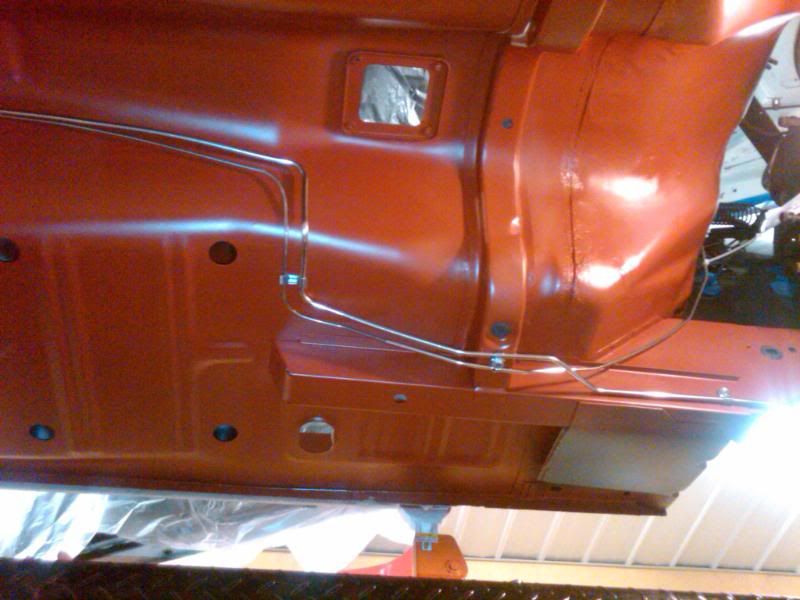
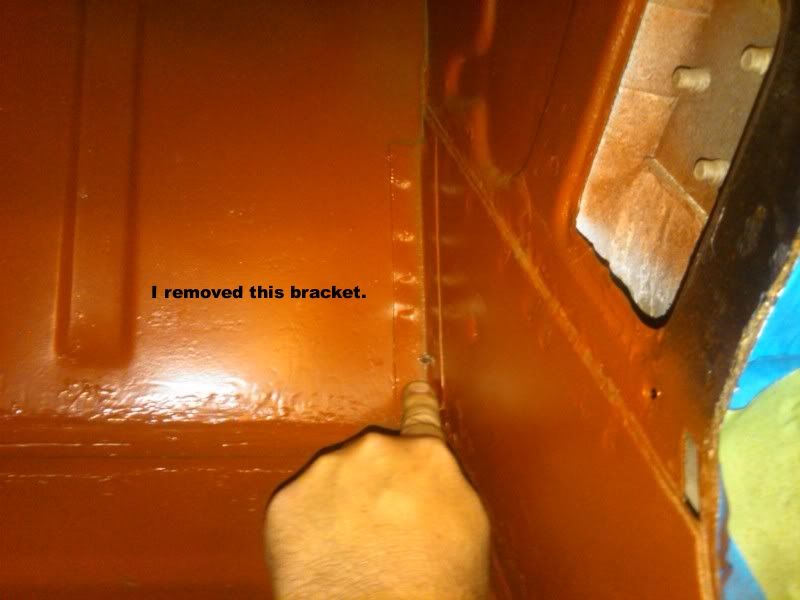
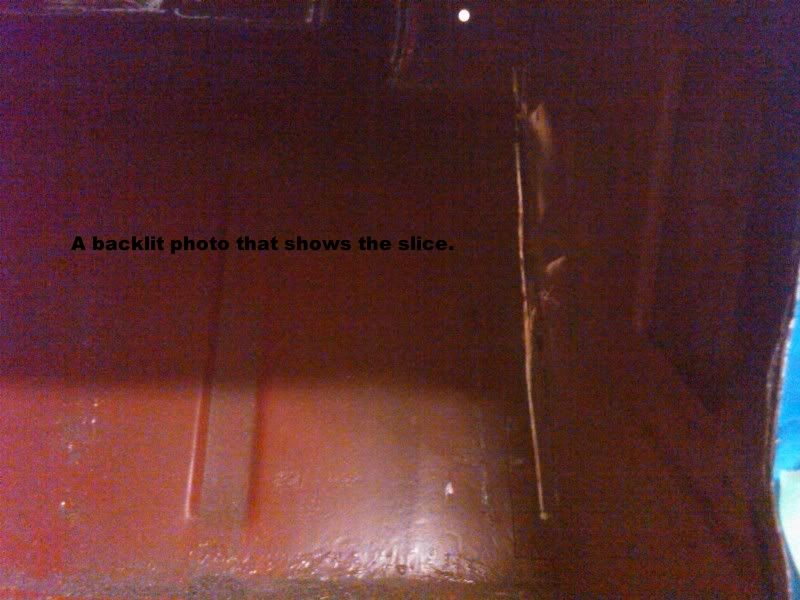
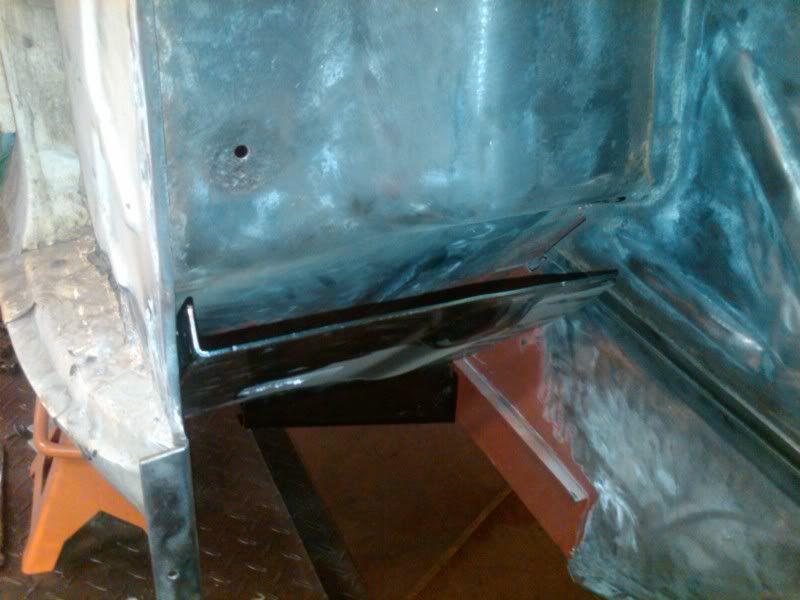
Do torque boxes first. I assume you are replacing the toe boards, also? Do torque boxes, then toe boards, then floor. Get the 2 piece, more expensive torque boxes. I bought the pre-assembled pieces and the flanges and such seem to be bent/cut to replace them as stand alone repairs/upgrades(in the case of 65-68). To be more exact, the flange that welds over top of the frame rail is cut out because you wouldn't be able to install the torque box unless you are cutting out the toe boards as well. Also, I think(?) the flange against the rocker is bent down instead of up, which also aids in installation because you would not be able to get to it if it were bent up in cases where the toe boards are not being cut out.

I wish i had known this before I bought the parts. The suppliers do not detail what the differences are. It all depends on how extensive your repairs are.
 
#9 ·
I did my boxes after the car had a floor and was square. Put your GOOD export brace (NOT THE CHEAP ONE) in place before you install them. I also changed out my front frame extensions/floor supports and tunnel cross member so they needed to be in place before the boxes anyway.

The only mod you do to the cars floor/toe boards is a slice right here to allow the boxes lip to protrude into the car. I removed the 90Âş bracket from the kick panel side so the box could sit flush.

Image


This is what it looks like back-lit.

Image


This is the lip I am referring too.

Image
 
#10 ·
Fstbk, and anyone else, are sub-frame connectors and/or torque boxes necessary if you have the 200ci engine?
 
#23 ·
Torque boxes (and subframe connectors) have nothing to do with engine size. All convertibles had both front boxes, but 64-66 coupe and fastback did not. The LH front box was added to all, 200/289/390 in 67, and 68-73 all had both front boxes.

It's how the car is driven that matters more, I doubt you'll be racing or autocrossing a 200, but if you live in an area where rough roads are common, structural upgrades are not a bad idea.
 
#11 · (Edited)
I dont have them, (SFC's) and I drive my car harder than most people with no noticeable flex since I added the torque boxes and gussets to the front. (EDITED TO REMOVE CONFUSION, sorry)

Everything below this line is not intended to start a flame war.
____________________________________________________________________

To be honest much of this "Sub frame connectors are a must" concept is propagated by those that have never held a front frame extension (Floorboard support) and tried to twist it, not much strength there to attach to. If I were doing SFC's they would need to replace those extensions and connect to the front frame rail.

The best option IMHO is a convertible floor and inner rockers, but thats a bit of work.
 
#12 ·
But you do have the torque boxes, right? Rear and front, or just rear?
 
#14 ·
My 66 didn't have torque boxes and I don't plan on putting them in. Think that will be a problem?
 
#16 · (Edited)
I dont think its a "Problem", hell the car lasted 45 years without em, so dont be concerned. Just making the floor and foundation solid and rust free will make the car seem a bunch better than many owners are used to driving.

Now, if you are doing a 400HP motor and plan on autocrossing it, then maybe it may be a good idea. I just tend to drive my car like I stole it.
 
#15 ·
Sorry, but what are gussets? And what type of 3M sound deadener did you use?
 
#17 ·
See that third "Triangle" part sitting on the lift by the box halves, those ship with the dynacorn two piece boxes (They should call em a 3 piece). Thats the gusset,it connects the box to the front frame and creates another plane of reinforcement. IF you look at the pic of my brakes you can just make it out.

Image


I just used the 3M rattle can sound deadener/rust preventer from the auto jobbers, its around $11 a can and works well for wheel wells to prevent chipping and hearing rocks clang against the inner fenders.
 
#18 ·
Thanks!!!
 
#21 ·
Yea, i am getting ready to start on my 72 mustang's floor pans I'm still pricing right now. Trying to find the cheapest ones I'm on a budget like everyone else i guess. But all the ones I've found are all pretty cheap like the small patch floor panels. This is going to be my first time welding in floor pans i need to read up on the best way and the right way it should be done...
 
#26 ·
That's called an e-coat. I would leave it on... You will have to sand/scotchbrite off the areas where the welds will go.
 
#27 · (Edited)
Scuff it really good and primer/paint over it.

Also, I just wanted to put in my 2 cents regarding punching plug weld holes (mentioned a bit at the beginning of this thread).

Punching the holes saves a lot of time vs drilling them but just keep in mind that Ford's spot welds were generally 3/8" whereas cheap home punches can only do 1/4 to 3/16. So, if you want factory strength in your new floors, I really think you should punch and weld twice as many as factory or just drill the same number of 3/8" holes to plug weld in the same factory locations. Just my 2 cents.
 
#29 ·
Sure did. Have all new one-piece, the firewall, cowl and radiator support installed (Thanks dzahm and George)!!!

I used the Northern Tool punch for my spot weld holes. Prolly put around 150 spot weld holes in the new floor. Followed those up with a 3/8" drill bit to "waller" out the the factory spot weld sizes.
 
#30 ·
since this thread is still going i'll ask a question.

i'm about to do a passenger side long floor and toe board. my firewall is not in the greatest shape and i'm a little worried about welding the toe board to it. does anyone have any suggestions as i'm not prepared to do a firewall at this time...
 
#31 ·
I would either replace your firewall then do the floor or wait until your prepared to do both.
 
#32 ·
thats what i was afraid of, but there is literally no floor and i want to atleast be able to drive the car.

there are no holes in the firewall, it just looks bad, maybe i should hit it with the grinding disc and see if its ok under the surface rust.

i really just dont know how to determine if its rusted too bad to weld to. also, how high do the toe boards go, do i need to remove the heater box?

sorry i'm such a noob. i've done metal work just not on anything old where rust was an issue.
 
#33 ·
Look at the mine below. you can see the seam where the floor board overlaps the toe boards of the firewall. The overlap is something like an inch if I remember right.